Winter Proofing Your Power: Maximizing Solar Efficiency in Sub-Zero Bushcraft Scenarios

Key Takeaways & Actionable Summary
This article provides a tactical blueprint for off-grid winter power resilience. Implement these three core principles immediately:
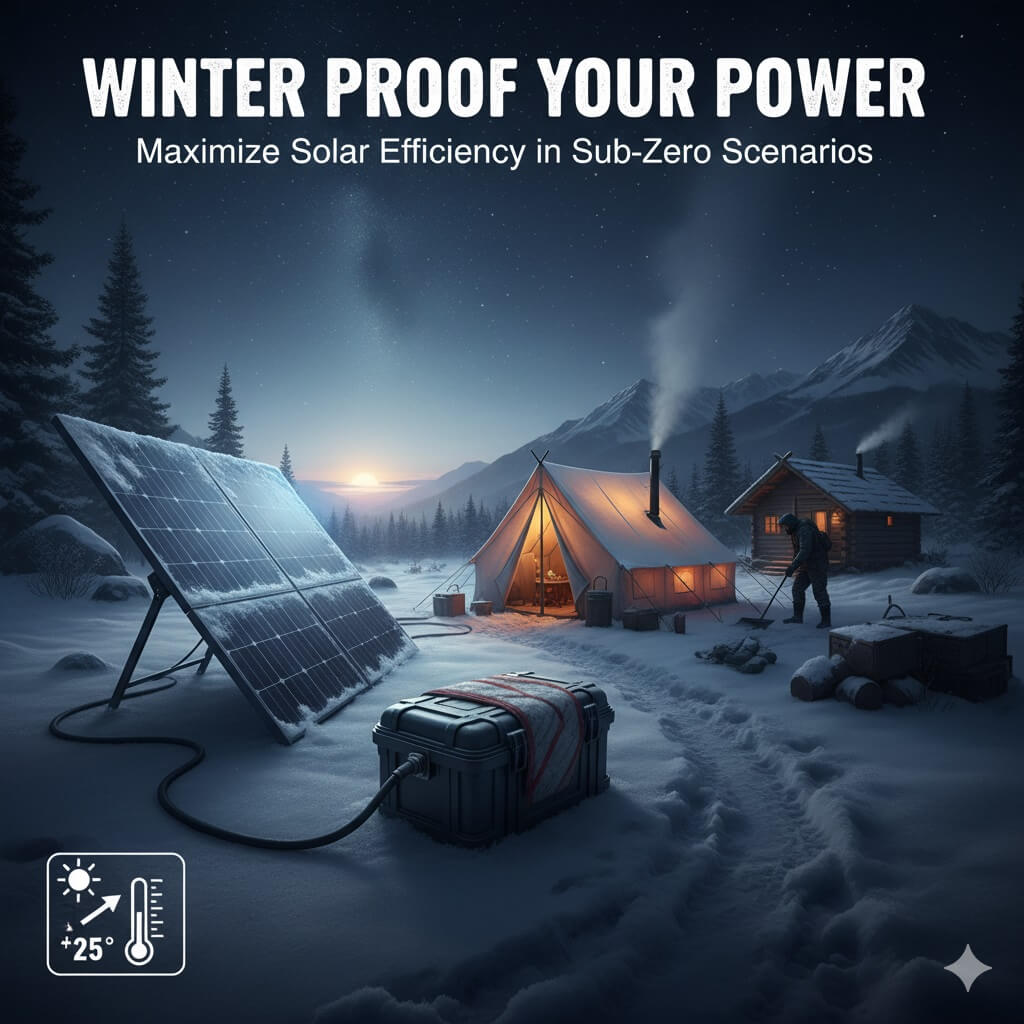
- Adjust Your Angle: Set portable panels or fixed arrays to your Latitude +25∘ (minimum). This extreme tilt is essential to capture the low winter sun and allow snow and ice to shed naturally.
- Protect the Battery: Never, under any circumstances, charge a LiFePO4 battery when its internal temperature is below 0∘C (32∘F). This causes irreversible damage. Use insulated boxes, thermal blankets, or invest in a self-heating Low-Temperature (LT) battery.
- Upgrade the Brain: If you are in a cold climate, an MPPT charge controller is non-negotiable. It harvests 15%−30% more energy than a PWM controller in low-light and high-voltage cold conditions.
- Audit Your Loads: Eliminate resistance heating (electric blankets/heaters) entirely. Schedule any high-draw loads (power tools, pumps) for the two to four hours around solar noon to maximize efficiency.
The Prepper’s Truth: The Hidden Battleground of Off-Grid Power
Winter is the ultimate test of self-sufficiency. It is when the short, grey days and sub-zero nights combine to ruthlessly expose the weakest link in your power system. Many believe solar power is useless in the cold, but that is a dangerous misconception. The physics of solar cells actually makes them more efficient in low temperatures. Your true enemies are not the cold, but snow accumulation, low sun angles, and the critical failure point of your battery bank.
This is not a theoretical guide. This is a tactical blueprint for maximizing solar efficiency in cold weather, specifically tailored for the mobile bushcraft expedition and the long-term remote cabin. We will move beyond the common advice to cover the component science, the precise angle formulas for northern latitudes, and the total cost of ownership (TCO) for a truly winter-proof system.
- Section 1: The Core Problem – Cold Physics vs. Real-World Power Loss
- Section 2: Tactical Panel Deployment: The Angle and Snow-Shedding Hacks
- Section 3: The Coldest Truth—Protecting Your Lithium Batteries
- Section 4: System Efficiency & Load Reduction (The Conservation Tactic)
- Section 5: The Cost of Cold Resilience: TCO Comparison
- Conclusion: From Liability to Leverage
Section 1: The Core Problem – Cold Physics vs. Real-World Power Loss
To beat the cold, you must first understand the two opposing forces at work:
1.1 The Cold Efficiency Advantage (The Good News)
Contrary to popular belief, cold temperatures actually increase the electrical voltage of photovoltaic (PV) cells. The industry standard test for a solar panel (STC) is performed at a cell temperature of 25∘C (77∘F). For every degree Celsius the cell temperature drops below this benchmark, the panel’s voltage, and thus its power output, increases slightly—typically by 0.2%−0.5% per degree.
- The Takeaway: A clear panel operating at −10∘C on a crisp winter day can actually produce more power than the same panel at 30∘C in the summer heat. The problem is not the temperature; it is the darkness and the white shroud of snow.
1.2 The Winter Triple Threat (The Bad News)
Solar output drops in winter due to three non-temperature factors:
- Shorter Daylight Hours: Less available time for power generation.
- Low Sun Angle: The sun sits much lower on the horizon, reducing the irradiance (watts per square meter) hitting a flat panel.
- Snow Cover: Even a thin, dusty layer of snow or ice can completely block the sun’s photons, immediately dropping output to zero.
The solution, therefore, is entirely tactical: Maximize the limited light and protect the battery.
Section 2: Tactical Panel Deployment: The Angle and Snow-Shedding Hacks
The most significant efficiency loss comes from poor panel positioning and snow cover. Fixed systems or ground arrays that work perfectly in July will fail you completely in January without adjustment.
2.1 The Essential Winter Angle Formula
A common rule of thumb for optimizing solar production is to set the panel tilt angle equal to your latitude. For winter, this must be adjusted drastically to capture the low-angle sun and facilitate snow shedding.
| Season | Standard Rule of Thumb | Rationale for Self-Sufficiency |
| Equinox (Spring/Fall) | Your Latitude (L) | Balances morning/afternoon gain. |
| Summer | L−15∘ | Flatter angle for the high, overhead sun. |
| Winter (Survival Mode) | L+25∘ (Minimum) | Steeper angle to point directly at the low noon sun and allow snow and ice to slide off immediately. |
Example: If your cabin is at 40∘ North Latitude (e.g., Denver, CO):
- Summer Angle: 40∘−15∘=25∘
- Winter Angle: 40∘+25∘=65∘
For remote, fixed arrays, invest in adjustable tilt-mount kits that allow you to quickly change the angle four times a year. For portable bushcraft setups, always use the built-in kickstands to maximize the steepness and ensure panels are facing True South (Northern Hemisphere).
2.2 Bushcraft Snow Clearing Tactics
Never assume wind will clear the panels. After a heavy snowfall, a quick clear-off is non-negotiable.
| Tool | Pro | Con |
| Soft Snow Brush/Broom | Ideal for dustings; non-abrasive. | Requires a ladder/long reach for large arrays. |
| Specialized PV Snow Rake | Long reach for fixed cabins; non-metallic blade. | Can be cumbersome for extremely steep angles. |
| Warm Water (Portable Use) | Melts ice/packed snow instantly. | Must be lukewarm/tepid. Cold glass meeting hot water can cause thermal shock and cracking. Use only on very robust panels. Avoid entirely in extreme cold. |
| The “Tap” Method | Effective for removing a brittle top layer on portable panels. | Only suitable for durable, foldable panels (not thin-film). Use a soft hand, not a tool. |
The Crucial Hack: Position the bottom edge of your panels at least 2 feet above the average maximum snow depth to prevent snow and debris from piling up and blocking the critical bottom row of cells.
READ MORE: Solar vs. Traditional Power Banks: Which is Better for Survival?
Section 3: The Coldest Truth—Protecting Your Lithium Batteries
Solar panels hate being covered, but LiFePO4 (Lithium Iron Phosphate) batteries hate being charged when they are cold. This is the single greatest risk to your entire system’s longevity and performance.
3.1 The 0∘C (32∘F) Charging Kill Zone
The golden rule for LiFePO4 chemistry is simple: NEVER charge the battery when its internal cell temperature is below 0∘C (32∘F).
Charging lithium below freezing causes a chemical reaction called Lithium Plating, which leads to the irreversible, permanent degradation of the anode, permanently crippling the battery’s capacity and lifespan. Your Battery Management System (BMS) should prevent this, but relying solely on a circuit in a remote environment is a risk you should avoid.
| Temperature Range | Discharge Performance | Charging Status | Critical Action Required |
| >10∘C (50∘F) | Optimal (98%−100% capacity) | Optimal | None |
| 0∘C to 10∘C (32∘F to 50∘F) | Reduced (70%−80% capacity) | Slower/Limited Current | Insulate Battery |
| <−10∘C (14∘F) | Severely Reduced (40%−60% capacity) | CRITICAL STOP | Requires Active Heating to Charge |
3.2 Sub-Zero Solar Charging Tips (Bushcraft & Cabin)
Your goal in a sub-zero environment is to keep the battery core above the 0∘C threshold.
A. Portable Bushcraft Power Stations
- Sleeping Bag Strategy: Place the solar generator/power station inside your sleeping bag sack or an insulated cooler box with a hand warmer packet for a few hours before and during charging. The battery must be warm before it accepts a charge.
- Active Charging Placement: Charge it inside your tent or shelter during the day, using the sun’s passive heating through the tent fabric, rather than leaving the unit exposed outside.
B. Fixed Cabin & Survival Cache Power
- Insulated Enclosure: Store the battery bank in a dedicated, insulated box (e.g., a plywood box lined with foam board insulation). The insulation slows the battery’s heat loss, allowing it to stay warmer for longer after a discharge cycle.
- The Heated Battery Solution: The most reliable solution is a low-temperature (LT) LiFePO4 battery with a built-in heating element. These batteries use a small fraction of the incoming solar power to safely pre-heat the cells to 5∘C before allowing the charging cycle to begin. This is a non-negotiable component for true winter resilience.
Section 4: System Efficiency & Load Reduction (The Conservation Tactic)
In a winter survival scenario, the most efficient power is the power you don’t use. Every watt-hour saved is one less watt-hour you need to generate on a dark, 8-hour day.
4.1 The Winter Load Audit
Re-evaluate your necessary loads for winter:
- Eliminate Resistance Heating: Electric space heaters and electric blankets are massive energy vampires and must be removed from the solar load. Rely on wood stoves, propane heaters, or high-quality insulation.
- Prioritize LED Lighting: Switch all lights to the most efficient 12V DC LED lighting possible. This is a small load, but the cumulative effect over 16 hours of winter darkness is significant.
- Run High-Draw Loads at Noon: If you must use a power tool, run a water pump, or charge a high-capacity device, schedule it for the two to four hours around solar noon (when panel output is at its peak).
4.2 Component Selection: The MPPT Advantage
The Charge Controller is the brain of your system, and the choice between PWM and MPPT becomes critical in the winter.
- PWM (Pulse Width Modulation): Simple and cheap. It is inefficient because it forces the solar panel to operate at the battery’s voltage (e.g., 12V). This is a poor choice for low-light, cold conditions.
- MPPT (Maximum Power Point Tracking): More expensive, but essential for winter efficiency. The MPPT continuously tracks the panel’s maximum voltage point (which is higher in the cold) and converts that excess voltage into more amperage for the battery. This can deliver a 15%−30% boost in energy harvest compared to PWM in cold or overcast conditions.
Section 5: The Cost of Cold Resilience: TCO Comparison
When building a self-sufficient system, you cannot afford to have it fail when you need it most. The initial cost for a winter-proof system is higher, but the Total Cost of Ownership (TCO) is lower due to increased lifespan and reliability.
5.1 TCO: Standard vs. Winterized Solar Kit (Example 100Ah Portable Kit)
This table illustrates the investment required to secure the weakest links in a winter system.
| Component | Standard 100Ah Kit (Summer Focus) | Winter-Proof 100Ah Kit (Survival Focus) | Cost Delta |
| Battery Bank | 100Ah Standard LiFePO4 ($400) | 100Ah Self-Heating LiFePO4 ($800) | +$400 |
| Charge Controller | 20A PWM Controller ($50) | 20A MPPT Controller ($150) | +$100 |
| Panel Mount | Fixed Flat-Mount Bracket ($30) | Adjustable Tilt-Mount / Stand ($100) | +$70 |
| Battery Protection | None | High-Density Foam Enclosure / Thermal Blanket ($50) | +$50 |
| Total Investment | $480 | $1,100 | +$620 |
The Resilience Payoff: The extra $620 secures your system against catastrophic failure (charging frozen batteries) and ensures 15%−30% higher power capture during critical winter months. This investment pays for itself in years of extended battery life alone.
5.2 Sourcing for Reliability
For the survivalist, component failure is a survival risk. When building or purchasing your system, prioritize:
- Tested, Low-Temperature Batteries: Look for specific mention of heated or low-temperature series in the specifications.
- High-VMP Panels: Panels with a higher voltage at maximum power (VMP) pair better with an MPPT controller, maximizing your cold-weather power boost.
- Tier 1 Manufacturer: Opt for reputable brands that publish detailed thermal coefficients and warranties, rather than no-name imports.
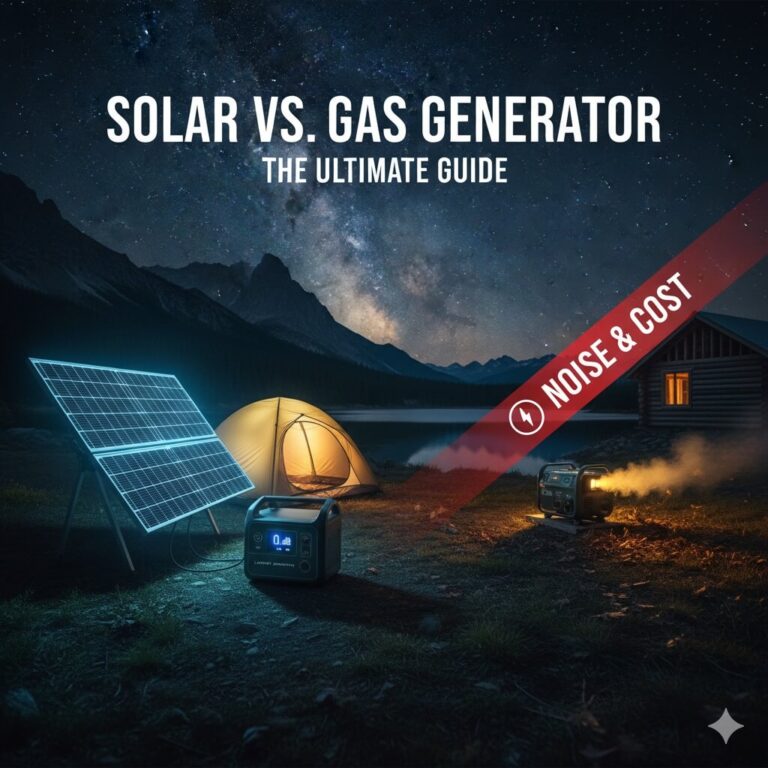
RAED MORE: Solar vs. Gas Generator Camping: Why Silent Power is Your Tactical Edge
Conclusion: From Liability to Leverage
The cold environment of a bushcraft or survival scenario does not kill your solar power—complacency does. By implementing these tactical adjustments, you shift your solar array from a fair-weather amenity to a robust, reliable winter asset.
The difference between a functional and a failed system in sub-zero weather boils down to three core principles: Angle, Insulation, and MPPT.
Master the angle (Latitude + 25∘), insulate the battery against the charging kill zone (0∘C), and invest in the efficient MPPT charge controller. These steps transform the short, crisp winter days from a power liability into an opportunity for maximum, life-sustaining energy capture.
Frequently Asked Questions (FAQs)
Q1: Does cold weather reduce my solar panel’s output power?
A: No, not directly. Colder temperatures actually increase the voltage output and therefore the base efficiency of the solar cells. The main reduction in power generation during winter comes from shorter daylight hours, the sun’s low angle, and the physical blockage of the cells by snow and ice. By clearing the snow and adjusting the angle steeply, you leverage the cold for better performance.
Q2: What is the single biggest mistake people make with portable solar systems in sub-zero temperatures?
A: The most catastrophic and common mistake is attempting to charge a LiFePO4 (lithium) battery when its internal temperature is below freezing (0∘C/32∘F). This process, known as lithium plating, causes permanent internal damage that irreversibly degrades the battery’s capacity and overall lifespan. Always pre-warm the battery core above freezing using insulation, passive heat, or a dedicated heating element before initiating a charge cycle.
Q3: How steep should I tilt my solar panels in the winter to maximize charging and snow shedding?
A: The optimal minimum tilt angle for winter survival use is your Latitude plus 25∘. For example, at 45∘ latitude, your panel should be set to 70∘. While some formulas suggest 15∘, the steeper angle is a dual-function solution: it maximizes the direct irradiance from the low-hanging winter sun and is highly effective at allowing snow and ice to slide off immediately, preventing the 100% efficiency loss of snow cover.


